Showing posts with label netting. Show all posts

Wednesday, January 15, 2014

A Time to Stitch 4 Reveal

I can't think of anything better than starting the new year off with two of my favorite designers. Therese Frank and Christine Altmiller.  They came up with the great idea of having a blog challenge based on beadweaving stitches.
The ones they chose for this time are: Netting, which is the required stitch, Chevron, Chenille, and Spiral.
I was only able to create a piece using the netting stitch. I'm very, very pleased with the way it turned out.

One of my 'go to' books is Carol Cypher's Mastering Beadwork. It is such a great reference tool for the basics of stitches. I also love the little 'Tips and Tricks' that she offers. So off I went to brush up on the stitch.
For some reason, I have a brain cramp with starting the netting stitch. Hey! Don't judge! :)
Anyway, this is called 'Spiky Bracelet' in her book. It uses odd count netting, which means that your turnaround is accomplished with a little picot. It turned out really pretty with the colors I chose, and of course, my photos totally do not do justice to the sparkle factor in this pretty.
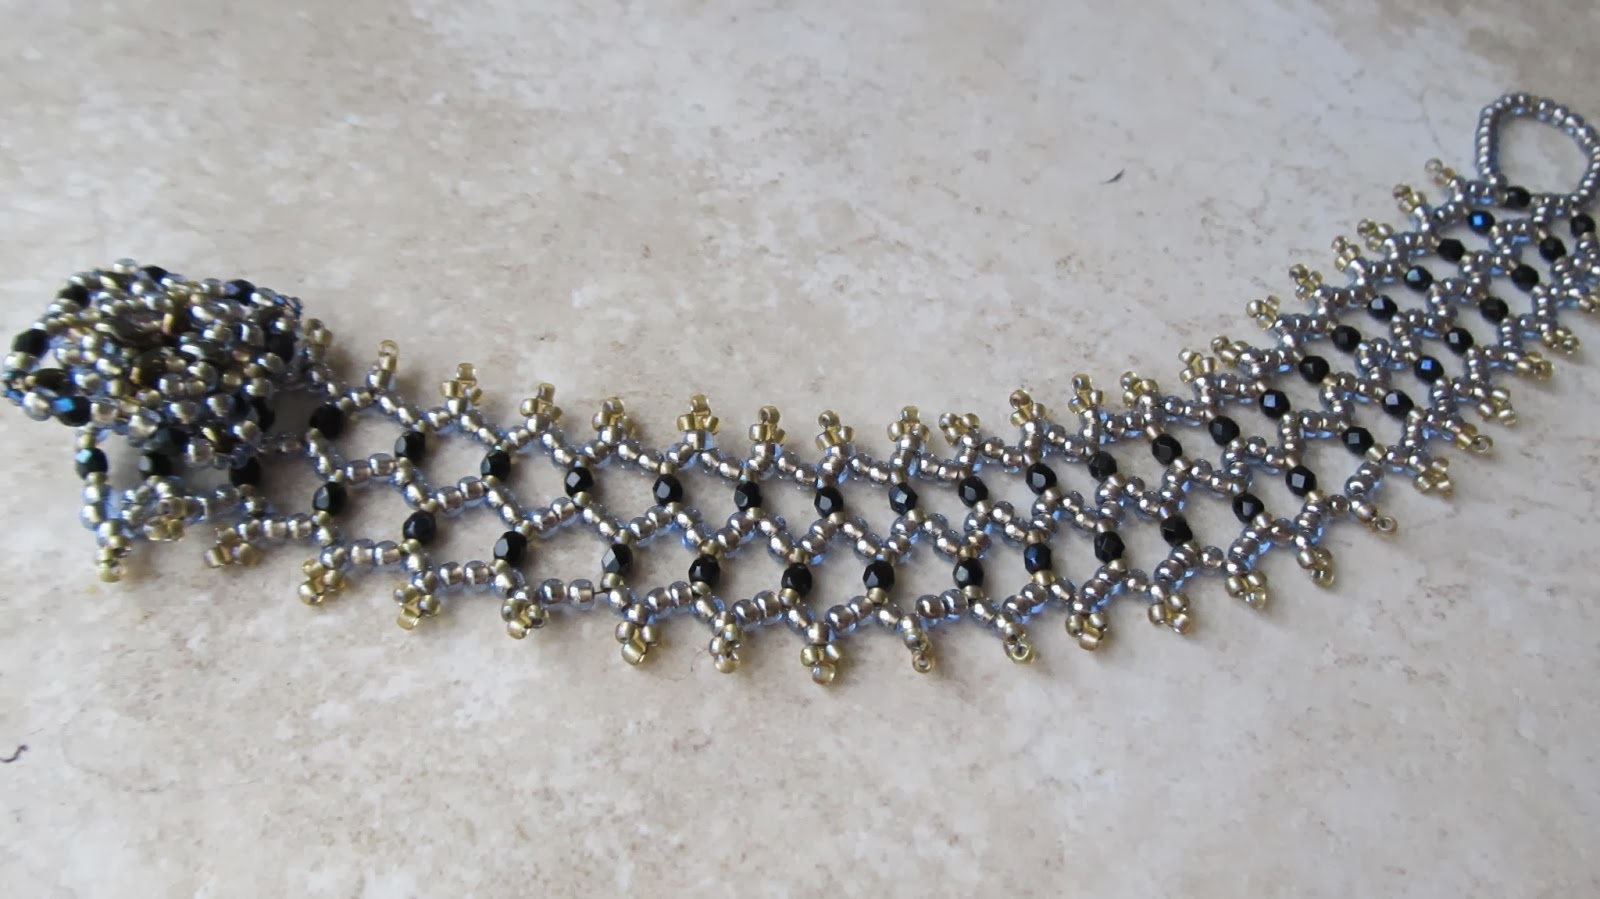
It's so lacey and delicate, and those 3mm fire polish twinkle ever so nicely!

Well, I was hoping to show you the details of this beaded button I created for it, but I don't think it shows up very well. I should have taken a photo of it before I attached it to the bracelet. After working 6 rounds, I went back down to the beginning, and worked the first three rounds again, to give it some height for the loop to fit around the bead, and to stiffen it up a bit.


 I love the hexagonal shape of the netting.

This was a fun challenge, as always, and I thank Therese and Christine for starting it. Blessings, Shirley

Please go check out the other hoppers to see what they created.

 LizE

Friday, February 1, 2013

AW-Hand Dyed Seam Binding Challenge

What? Two posts in one day? Say it ain't so! Yep! I actually FINISHED two projects due on the same day!
So, if you're looking for the AJE Blog Reveal, go here.

At the beginning of the year, I told myself that I would not enter so many challenges. Really. And then Karen Lackey posted this great challenge over on Artisan Whimsey for seam binding. Huh? Ok, Not a Sewer here....I vaguely understand that it's something to strengthen the seams of clothes...right?
Well, in the jewelry world, Karen has taken it to new heights. She hand dyes it and comes up with the lovely, yummy colors.Please go check out her Etsy Shop.  The color she chose for the challenge was a soft, pretty aqua blue. Which leads me to my next challenge. See, I don't do soft colors....I'm a primary, earthy toned kinda girl. Love purples. Love burgundy, matte raku....not so much on the soft, pastel colors. So that was another personal challenge, to see if I could actually work with a soft color palette. Sigh...ok, I'm in. Just can't stop myself.
Here's a pic of what Karen sent to me...

See? So soft and pretty!
Ok, so I stretched myself outside of all previous boundaries. I used fabric, I used netting, and I used kumihimo with fabric. Wanna see?? Of course you do!
As soon as I saw the color of the seam binding in person, it reminded me of a beautiful pendant I had of Marie Voyer-Cramp's. If you've never seen her lovely wooden pendants, you can check them out at Skye Jewels. I wanted to keep to the delicate, ethereal feel of the lightweight pendant, but I  didn't want to just string it on the seam binding.

 I have used netting in a few pieces, but I've never done tubular netting like this.

I used eyelash yarn, bronze pearls and faceted brown agate gemstones, along with the seam binding in the kumihimo side.

 Yes, I know that end of the kumi looks like a hot mess....but this was a learning experience, right?

 I didn't really know how to attach the clasp, so a simple knot on each side is what worked.

 This pic is just to show you how pretty the seam binding is with the wing of the butterfly....

 Here's a close-up of the netting and the kumi.

 And there you have it. Am I totally pleased? Not with the endings, but absolutely with where this challenge took me.And....I still have more left!!!  Hope you enjoyed the ride with me.
Blessings, Shirley

Sunday, June 24, 2012

Beading Babes Reveal

Hi all! Today is reveal day for our current Beading Babes projects.  We were extremely blessed to be offered a pattern from Helena Tang-Lim's shop, Manek-Manek Beads at a special price. We also chose Helena's pattern, Nefertiti, from the June 2012 issue of Bead and Button.  I was able to make both projects, which was a close thing, due to my obsession commitment to some other challenges.
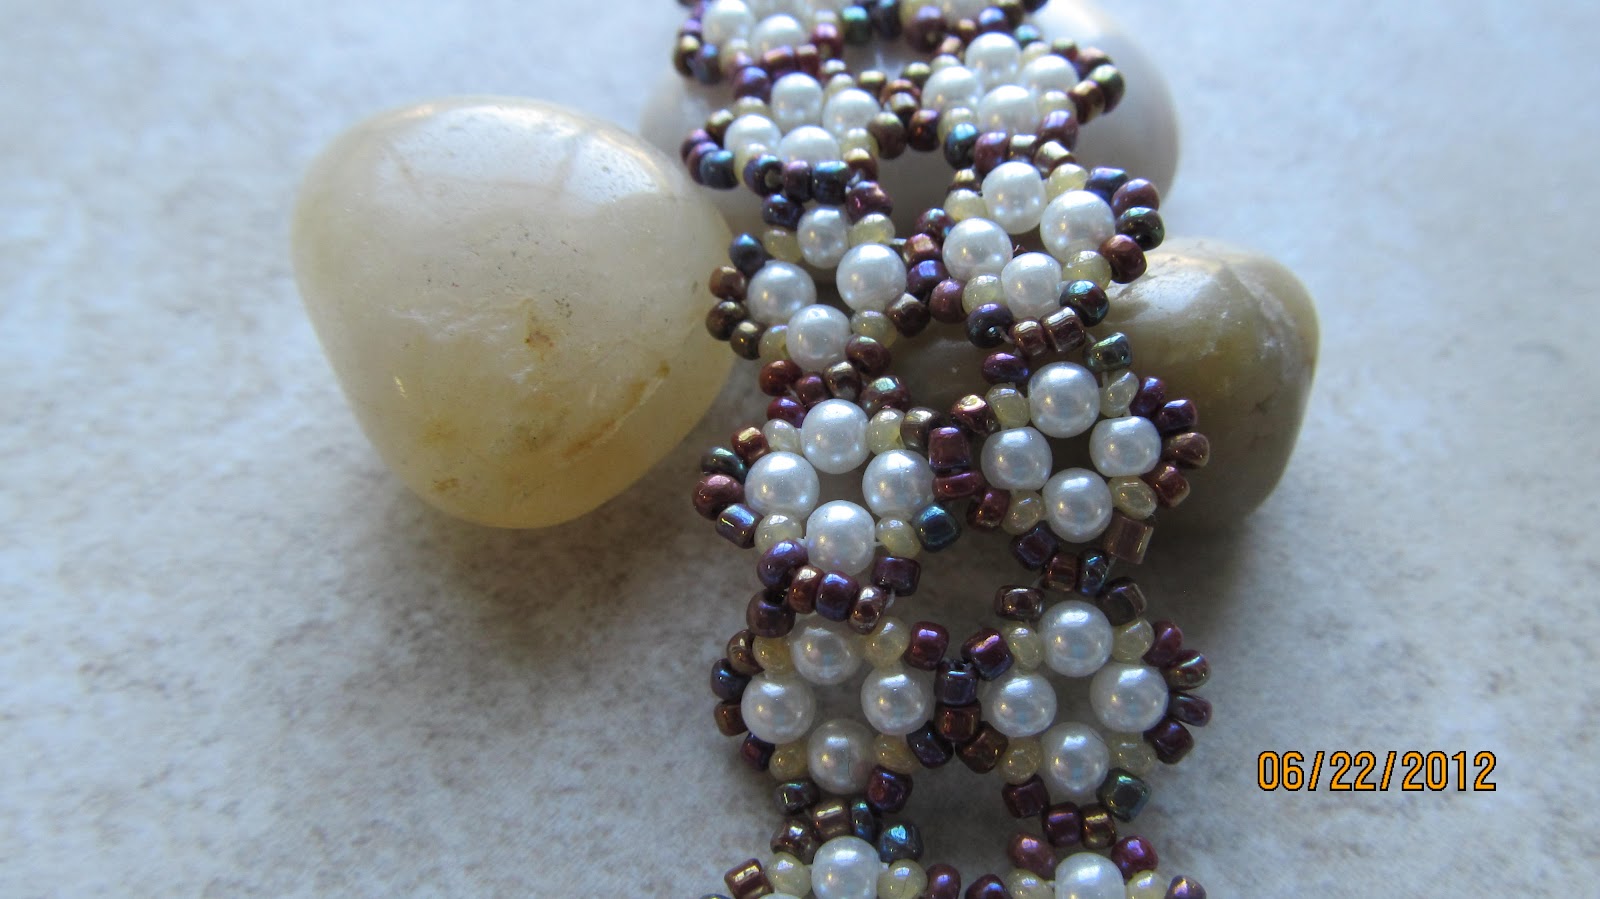
When I first started out, I couldn't understand why people would make someone else's design, if they were trying to sell their own stuff. It didn't apply to me, since I wasn't selling, but I just kept wondering. Well, now I know. Helena takes some simple ideas, and turns them into beautiful designs. Her instructions are well written, and easy to understand. And if you don't understand...she's so very available to answer any questions.  I also appreciate how adaptable her patterns are to your personal taste. The bracelet pattern could be worked up in one, two, or three rows. I chose to work mine in 2 rows, using some wonderful bronze iris Czech beads and white pearls. I love the contrast, and the organic feel the Czech beads gave to it. I followed that organic theme by using freshwater pearls for the clasps.


The Nefertiti necklace is a serious statement, designed to get noticed. I adapted the pattern a bit, since I didn't have any luck finding the coin beads needed for the project quickly enough. I chose an open MOP circle, and inserted a FP bead in the middle. I also decided to make the necklace with the 3 small pendants, since my personal style is a bit more casual than the full version.

I only used the small pendants for my version.

Close up of the clasp. I did not add the fringe beads to it, again going for that more casual look.

 I added more of the fire polished every 2 inches to the herringbone rope.


I fell in love with the clasp on this necklace.  And I know, without a doubt, that I would not have been able to make it if I hadn't made Nancy Dale's Trellis necklace for our last project.  That is what I discovered about other people's patterns. They make you better, and help you with your creative process. They also make you extremely grateful to the talented folks who spend their time and effort to make their designs available to everyone.
This has, as usual, been a blast, and I'm already excited about our next project reveal! To find out more, please head over to Karyn's blog, ReleasesbyRufydoof.blogspot.com.
Blessings,
Shirley